Creating immersive game worlds often hinges on the quality and realism of your textures. While hand-painting or procedural generation offer creative control, leveraging real-world photographs through an image-to-texture workflow provides an unparalleled foundation for photorealism. However, simply taking a photo and dropping it into an engine isn't enough. To achieve production-ready results that perform well across any game engine, a thoughtful approach to optimization is essential.
This guide will walk you through the critical steps and best practices for transforming your raw images into high-fidelity, optimized textures. We'll cover everything from initial capture to final engine integration, ensuring your assets look great and run efficiently.
The Power of Image-to-Texture in Game Development
Image-to-texture workflows bridge the gap between the physical world and digital environments, allowing artists to capture intricate details and material properties directly from reality. This approach significantly accelerates asset creation, offering a level of authenticity that can be challenging to achieve through purely synthetic methods.
Bridging Reality and Virtual Worlds
By converting photographs into PBR (Physically Based Rendering) maps, developers can infuse their games with realistic surfaces that react accurately to light. This realism is crucial for player immersion, making environments feel tangible and believable. From weathered stone walls to intricate fabric patterns, real-world data provides a rich starting point.
Common Challenges in Manual Workflows
Without a structured image-to-texture pipeline, artists often face time-consuming manual processes. This includes hand-sculpting normal maps, meticulously painting roughness variations, or struggling to achieve consistent material properties across an entire scene. These manual efforts can introduce inconsistencies, slow down production, and limit the overall fidelity of game assets.
Essential Steps for High-Quality Image Capture
The quality of your final texture is directly proportional to the quality of your source image. Investing time in proper image capture is the most crucial first step in any successful image-to-texture workflow.
Lighting and Consistency
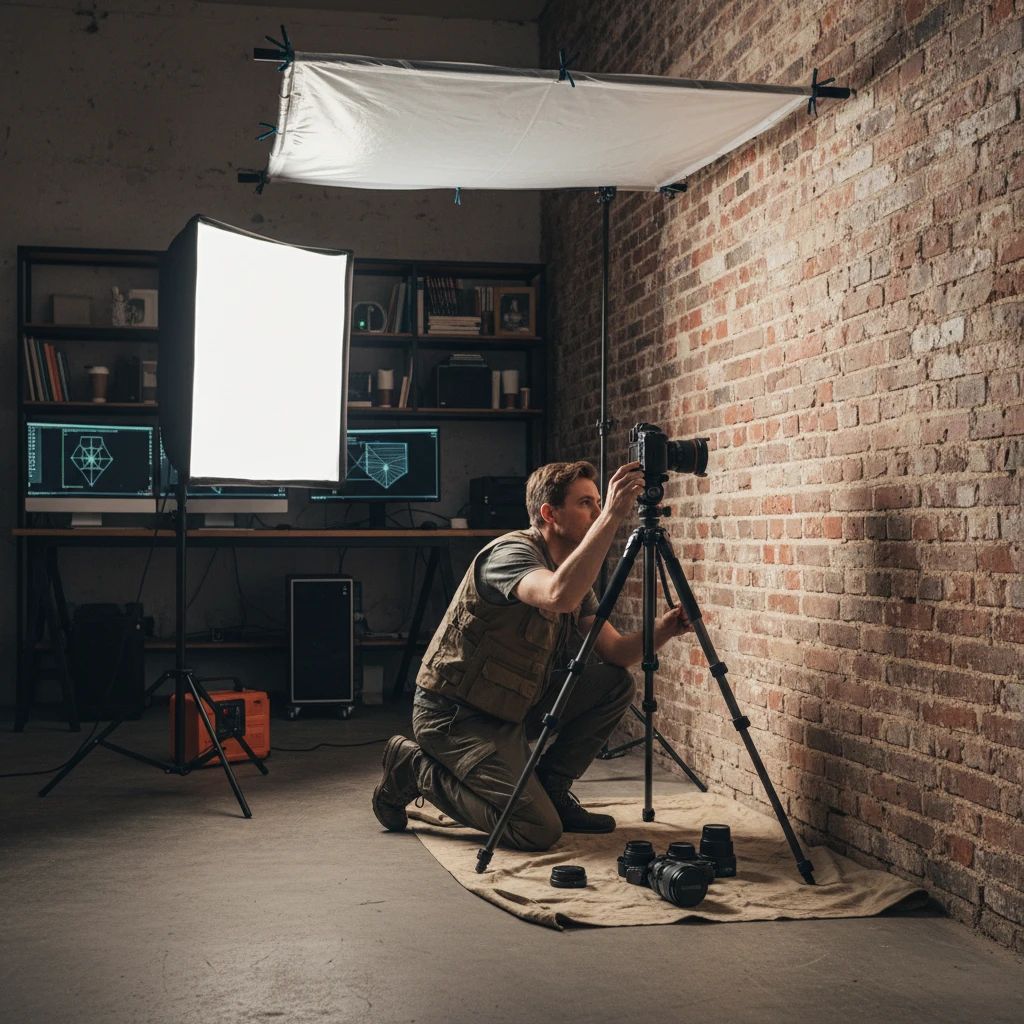
Aim for even, diffuse lighting with minimal shadows. Overcast days or shaded areas are ideal for capturing textures without harsh highlights or deep shadows that can bake into your albedo map. If using artificial lighting, ensure it's consistent and illuminates the surface uniformly. Avoid direct sunlight which creates strong specular highlights and shadows that are difficult to remove.
Resolution and Detail
Capture images at a high enough resolution to preserve fine details, but avoid excessive resolution that leads to unnecessarily large file sizes. Consider the typical viewing distance of the texture in your game. For hero assets or close-up details, higher resolution is justified. For background elements, a moderate resolution is often sufficient. Always capture more detail than you think you'll need, as downscaling is easier than upscaling.
Avoiding Distortions
Photograph surfaces as flat and straight-on as possible to minimize perspective distortion. Use a tripod to maintain stability and ensure sharp images. If capturing a repeating pattern, try to get a clean, unobstructed view of a single tileable section. Overlapping photos can be used for photogrammetry-style reconstruction, but for direct texture extraction, a single, clear shot is often best.
Pre-Processing Your Source Images
Once captured, your raw images need preparation before they can be effectively converted into PBR maps. This pre-processing phase cleans up imperfections and normalizes the image data.
Cropping and Straightening
Isolate the material you want to texture by cropping out irrelevant background elements. Use image editing software to straighten any perspective distortion or rotation, ensuring the texture is perfectly aligned. This step is crucial for creating seamless tiles later on.
Color Correction and White Balance
Neutralize the image's color balance to accurately represent the material's true albedo. Remove any color casts introduced by ambient lighting. Use a gray card during capture or adjust white balance in post-processing to ensure accurate color representation. The goal is a flat, unlit base color that will react correctly to lighting within the game engine.
Removing Unwanted Elements
Carefully remove any distracting elements like dust, debris, specular highlights, or cast shadows. Tools like content-aware fill or cloning can be invaluable here. For more complex clean-up or even generating entirely new texture variations from a reference, advanced AI texture generation tools can significantly accelerate this process, allowing you to refine and perfect your source material.
Generating Core PBR Maps from Images
This is where the magic happens: transforming a single image into the multiple maps required for a PBR material. Modern tools automate much of this complex process.
Albedo/Base Color
The albedo map is your cleaned, color-corrected, and de-lit base image. It represents the diffuse color of the surface without any lighting information. Ensuring this map is as neutral as possible is paramount for accurate PBR rendering.
Normal and Height Maps
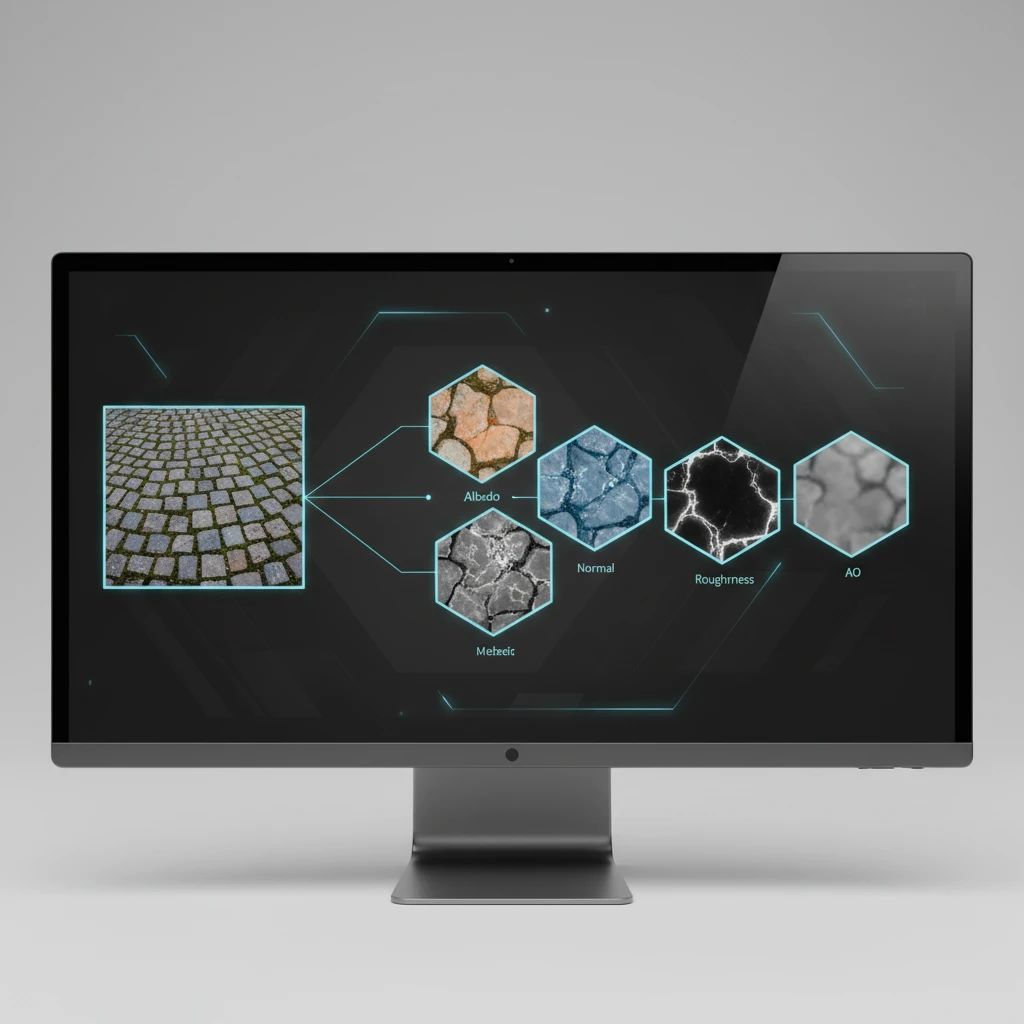
These maps define the surface's micro-detail and perceived depth. A normal map uses RGB channels to store directional information about surface normals, simulating bumps and grooves without adding geometry. A height map (or displacement map) stores grayscale values representing elevation, useful for parallax occlusion mapping or tessellation. Tools like PLAYTEX's deterministic PBR map generation can intelligently extract these details from your source image, providing accurate and consistent results.
Roughness, Metallic, and Ambient Occlusion
- Roughness Map: A grayscale map indicating how rough or smooth a surface is, influencing how light scatters and reflects. Rougher areas scatter light more broadly, appearing duller, while smoother areas create sharper reflections.
- Metallic Map: A grayscale map (or sometimes a single channel in a packed texture) that defines which parts of a surface are metallic (white) and which are dielectric (black).
- Ambient Occlusion (AO) Map: A grayscale map that simulates soft shadows where ambient light is occluded, typically in crevices and corners. This adds depth and realism to the material.
Optimizing Textures for Game Engine Performance
High-quality textures are essential, but they must also be performant. Optimization ensures your game runs smoothly without sacrificing visual fidelity.
Resolution and Compression
Balance visual quality with memory footprint. Downscale textures to the lowest acceptable resolution for their intended use. Utilize appropriate compression formats (e.g., BC7, ASTC, ETC2) within your game engine to reduce file size and VRAM usage without introducing noticeable artifacts. Many engines offer automatic compression settings, but understanding when and how to manually adjust them is key.
Seamless Tiling
For repeating surfaces like ground, walls, or fabrics, seamless tiling is crucial. Tools can analyze your image and generate a tileable version, eliminating visible seams. This allows you to cover large areas with a single texture without obvious repetition, saving memory and improving visual consistency.
Material Instancing and Atlasing
Leverage engine features like material instancing to reduce draw calls. Instead of creating a new material for every slight variation, create instances from a master material and adjust parameters. Texture atlasing combines multiple smaller textures into one larger texture sheet, reducing the number of texture lookups and improving rendering performance, especially for UI or props.
Integrating Textures into Any Game Engine
Once your textures are optimized, the final step is to import and configure them within your chosen game engine, whether it's Unity, Unreal Engine, Godot, or a custom solution.
Understanding Engine-Specific Workflows
Each engine has its own PBR material setup and texture packing conventions. For example, Unreal Engine often uses a packed texture for Roughness, Metallic, and Ambient Occlusion (RMA), while Unity might use separate maps or a different packing order. Understanding these specific requirements ensures your materials render correctly and efficiently. Always consult your engine's documentation for the most accurate setup.
Leveraging Automated Tools like PLAYTEX
Modern platforms like PLAYTEX are designed to output engine-ready materials. They often provide export presets that automatically configure your PBR maps into the correct formats and packing for popular engines like Unity and Unreal. This eliminates manual adjustments, reduces errors, and ensures your assets are production-ready with minimal effort, allowing you to focus on creative iteration rather than technical conversion.
"The ability to quickly convert real-world scans into engine-ready PBR materials has been a game-changer for our environment art pipeline. It's about precision and speed." - Lead Environment Artist, Indie Studio
Conclusion: Streamlining Your Asset Pipeline
Optimizing your image-to-texture workflow is more than just a technical exercise; it's a strategic move to enhance both the visual quality and production efficiency of your game development. By meticulously capturing source images, intelligently pre-processing them, leveraging advanced tools for PBR map generation, and carefully optimizing for performance, you can create stunning, realistic environments that captivate players.
Embrace modern solutions like PLAYTEX to automate the complex parts of this process, ensuring your textures are not only beautiful but also perfectly tailored for any game engine. This empowers your team to deliver high-fidelity assets faster, keeping your creative vision at the forefront.