What you will get
- Pick the correct tool before you spend credits or time.
- Understand the fastest route from concept art, photo, or prompt to usable material output.
- Know which upgrade matters next instead of guessing from a pricing page.
Getting Started
Use this guide to choose the right PLAYTEX workflow, understand where each tool fits, and move from idea to game-ready material without bouncing between random experiments.

A good getting-started guide should reduce decision fatigue, not create more of it. That is especially important for a product like PLAYTEX because the platform covers several related but different jobs: generating a brand-new surface, converting an existing image into a seamless tile, cleaning up a source, building the technical PBR map stack, packaging outputs for engines, and managing reuse or handoff once a material is worth keeping. New users often lose time because they open the tool that sounds impressive instead of the tool that matches the source they already have.
The simplest way to think about the platform is this. If you need to invent a material idea from scratch, start in AI Texture Generator. If you already have a photo, scan, or source image that needs to become tileable, start in Image to Texture Generator. If the source is almost ready but still needs cleanup, masks, crops, or local corrections, use Image Editor before you do anything technical with it. If you already have a strong base texture and the next job is to make it behave like a real material, open PBR Map Generator. That framing turns the dashboard from a menu into a workflow.
This people-first explanation matters for SEO too, because helpful content should solve the reader problem directly. Someone landing on this page is usually not asking for a brand story. They want to know where to begin, how the tools connect, and how to avoid wasting time. The fastest route to trust is to explain the current product honestly and keep the guidance anchored to visible features instead of broad claims.
For many users the shortest productive loop looks like this: choose the correct source workflow, make the texture tile cleanly, generate the map stack, then save or export only after you review the channels. That sequence sounds obvious, but most failed texture workflows skip one of those checkpoints. People jump from a rough image straight to map generation, or they keep rerolling a texture that was already good enough, or they export before checking roughness and AO individually. Each of those habits creates extra work later.
The practical advantage of PLAYTEX is that those stages already live close together. You can ideate a surface, clean an existing one, build the maps, and package the result without bouncing across a half-dozen unrelated applications. That does not mean every decision disappears. It means the workflow is easier to standardize. Once you know which stage you are in, the next action becomes clearer. That is what new users need most in the first hour: fewer branching paths and fewer avoidable mistakes.
If you are working alone, that sequence gives you a faster route to a finished asset. If you are evaluating the platform for a team, the same sequence becomes a way to explain the product internally. A teammate does not need to memorize every feature at once. They need to understand where sources enter the system, where map generation happens, and where the asset should live once it becomes reusable.
The most reliable decision rule is to ask what problem still exists in the asset right now. If the problem is that no usable surface exists yet, AI Texture Generator owns the next step. If the problem is that the surface exists but still does not tile cleanly, Image to Texture Generator owns the next step. If the problem is that the source is close but still has visual defects or local issues, Image Editor owns the next step. If the problem is no longer artistic but technical, and the surface needs normal, roughness, metallic, AO, height, or emission maps, then PBR Map Generator owns the next step.
This sounds basic, but it is the heart of a stable production workflow. A lot of rework comes from asking the wrong tool to solve the wrong class of problem. Users often expect map generation to fix weak source data, or expect AI generation to replace careful cleanup, or expect export packaging to solve a material that was never reviewed properly. The better mental model is to keep each tool responsible for the stage it is designed to handle well.
Once a material is good enough to keep, the workflow changes again. Library saves matter because they preserve usable results instead of forcing you to rediscover them later. Projects matter because not every texture is just a local experiment; some belong to a broader production context. Asset Binder matters when materials need to connect to mesh slots or move through a team-oriented review process. Those features become more valuable as the asset shifts from idea to pipeline artifact.
Teams evaluating PLAYTEX usually do not need a page that says the platform is powerful. They need a page that explains how to test it intelligently. A good evaluation path is to run one surface through the full lifecycle. Start with either a generated material idea or an existing source image, clean it until the tile is believable, build the maps, review the channels, export for the engine you care about, then decide whether that asset is worth saving to library or pushing into a project workflow. That gives you a concrete answer about fit.
The important thing is not to overcomplicate the first trial. Pick one realistic surface category that matters to your work, such as worn painted metal, stone, bark, plaster, tile, or fabric. Use the platform the way you would actually use it in production. If the source intake, cleanup, map generation, and export handoff feel cleaner than your current process, that tells you more than any generic comparison page would.
That is also how this guide should position PLAYTEX in search: as a product people can evaluate through a real workflow, not a vague promise. Google repeatedly emphasizes helpful, reliable, people-first content. In practice that means the page should answer concrete questions, use clear internal links, and reflect the product as it exists today. This guide now does that more directly, and it gives you a foundation to keep expanding without drifting into placeholder copy.
Use AI Texture Generator when you need a fresh material concept, Image to Texture when you already have a photo or reference surface, and Image Editor when your source is close but still needs cleanup before generation.
Before you worry about exports, make sure the source is physically believable and tile-safe. Image to Texture handles repeat-safe reconstruction, while Image Editor is the right stop for crops, masks, tone balance, and local cleanup.
Use PBR Map Generator to build the full map stack: albedo, normal, roughness, metallic, AO, height, and emission. This is where a flat image becomes a production asset.
Use library saves, project workspaces, and Asset Binder when a texture stops being a one-off image and starts becoming a reusable production asset. This is the shift from experimentation to an actual pipeline.
HDRI Sphere Generator helps when the environment lighting itself needs direction, while Creator and Studio plans add project, approval, and binder-oriented workflows that make team handoff much cleaner.
For most users it is AI Texture or Image to Texture first, Image Editor if cleanup is needed, PBR Map Generator second, then save to library or push into a project workflow.
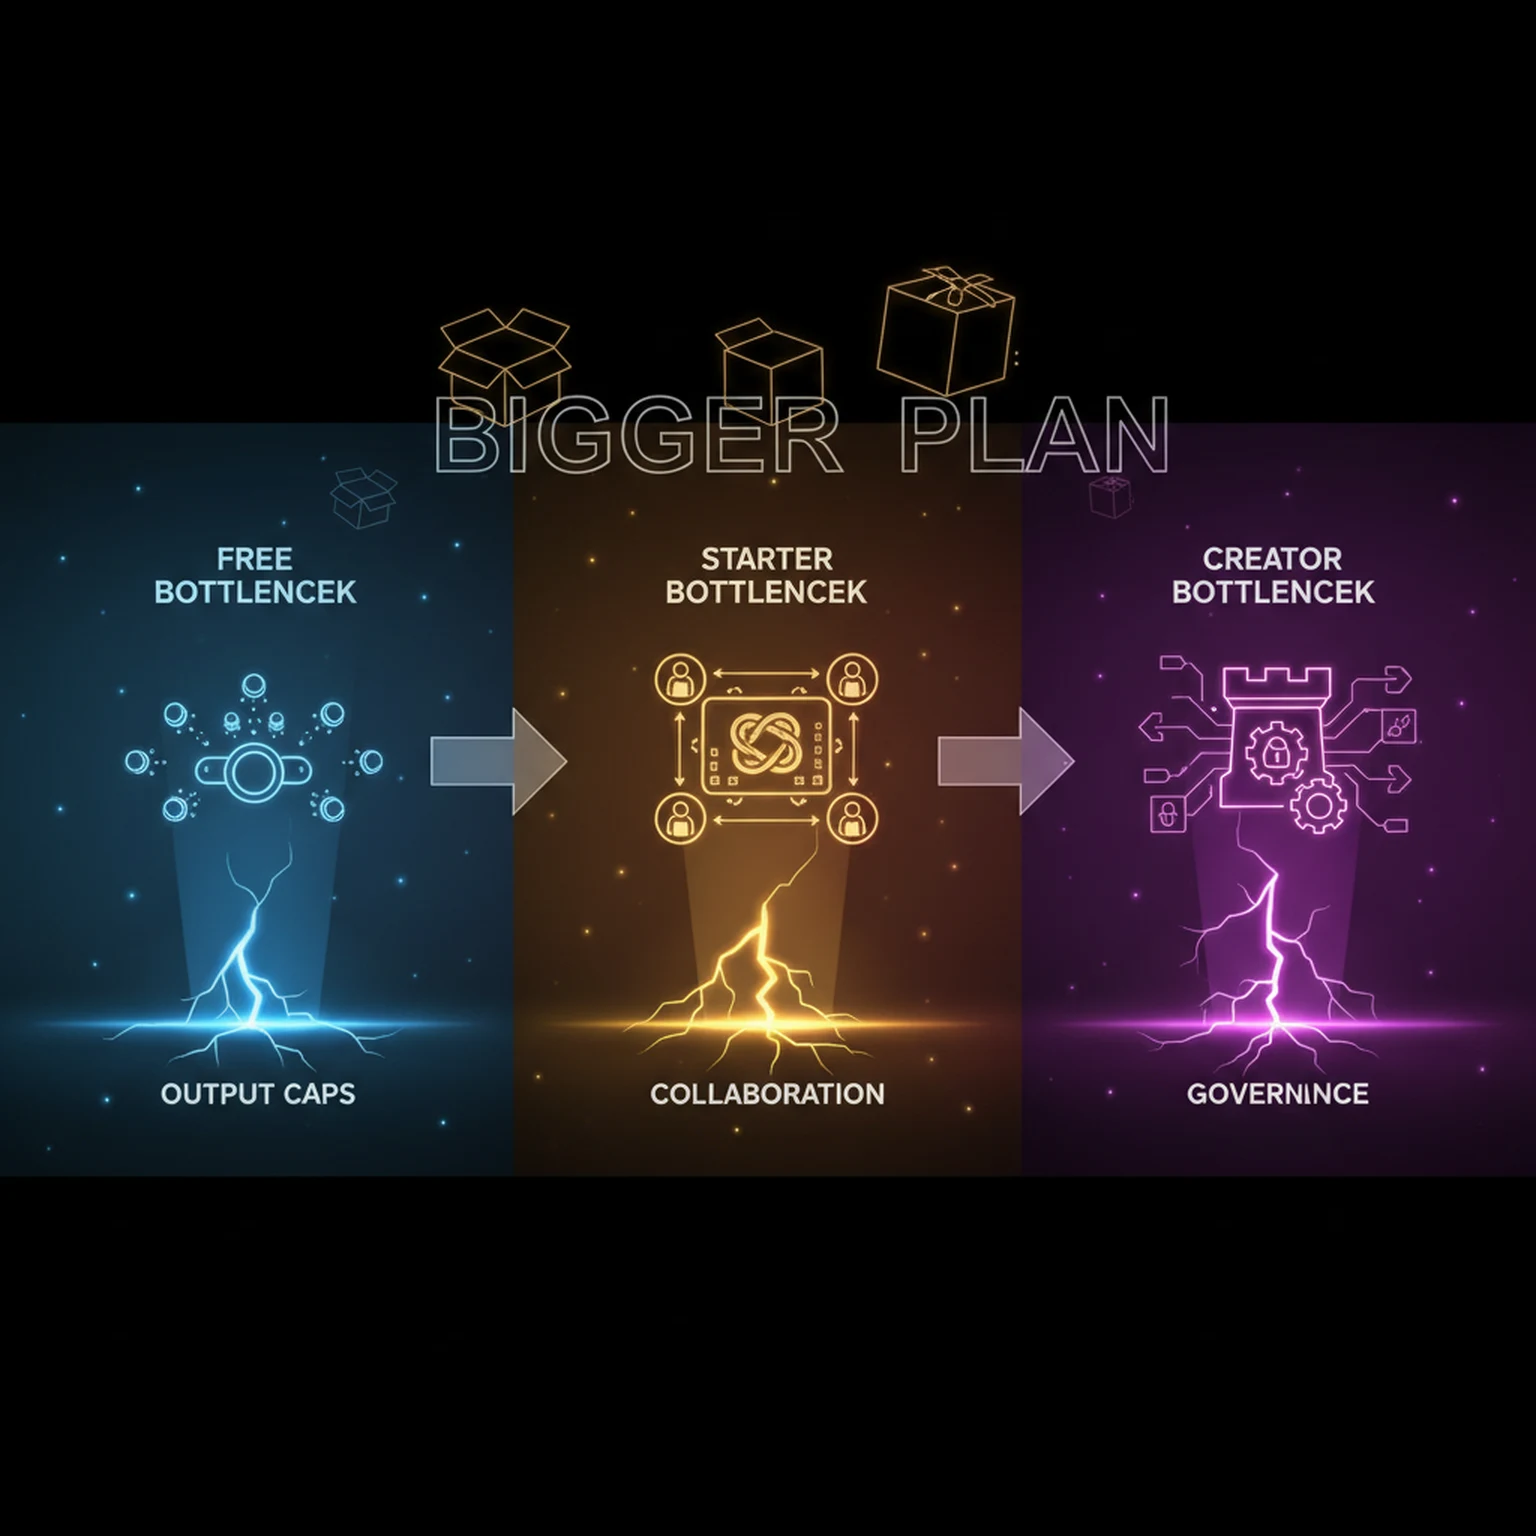
Upgrade when your blockers are no longer creative but operational: more generations, download/export control, library workflow, projects, or collaboration.
Open the live workflow that this guide is documenting.
PBR Map Generator Guide for Game MaterialsUse the PBR Map Generator to turn a texture into a coherent material set with normal, roughness, metallic, AO, height, and emission outputs tuned for real-time engines.
AI Texture Generator Guide for Seamless Surface CreationGenerate new tileable textures from prompts, material presets, palette direction, and style controls designed for game surfaces rather than generic scene art.
Image to Texture Generator Guide for Photos, Scans, and Reference SurfacesConvert photos, scans, and existing artwork into tileable textures using region selection, surface extraction, seam guidance, and post-processing designed for game surfaces.